A new floor can transform both the look and vibe of your living space. Vinyl installation flooring is one of the easiest and most durable options to consider. Many homeowners prefer it because it resists moisture, is easy to clean, and comes in many styles. If you want to improve your living space efficiently, knowing how to install vinyl plank flooring is essential. This guide will provide detailed steps, tips, and tricks to make your installation smooth. From understanding patterns to preparing surfaces, you can enjoy professional results without hiring a contractor. Let’s explore the process carefully.
Preparing Tools and Materials
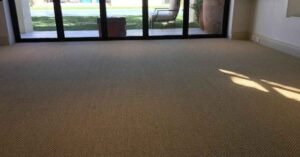
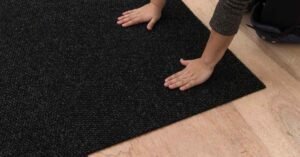
Before you start, you must gather all tools and materials needed. A tape measure, utility knife, spacers, underlayment, and vinyl planks are essential. Always read manufacturer instructions for specific requirements. Preparing the subfloor correctly helps the planks stick and last longer. Make sure it is clean, dry, and level before proceeding. If you plan on installing vinyl plank flooring in a bathroom, extra moisture precautions are required. You may need a waterproof underlayment to prevent water damage. Learning how to install vinyl plank flooring correctly starts with proper preparation. Many homeowners also consider professional installation services for precise and lasting results.
Planning Your Vinyl Flooring Layout
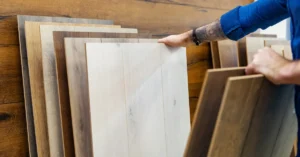
Begin by planning your layout for the vinyl planks in each room. Decide which direction to install vinyl plank flooring for the best visual effect. Typically, planks run parallel to the longest wall for a spacious feel. Avoid random placement as it may create an uneven appearance. Measure your space carefully to minimize small cuts at edges. Consider the installation patterns for vinyl plank flooring that suit your design. Staggering planks or creating a brick pattern adds natural appeal. Planning is critical to ensure your attempt to install vinyl plank flooring is successful.
Laying the Vinyl Planks
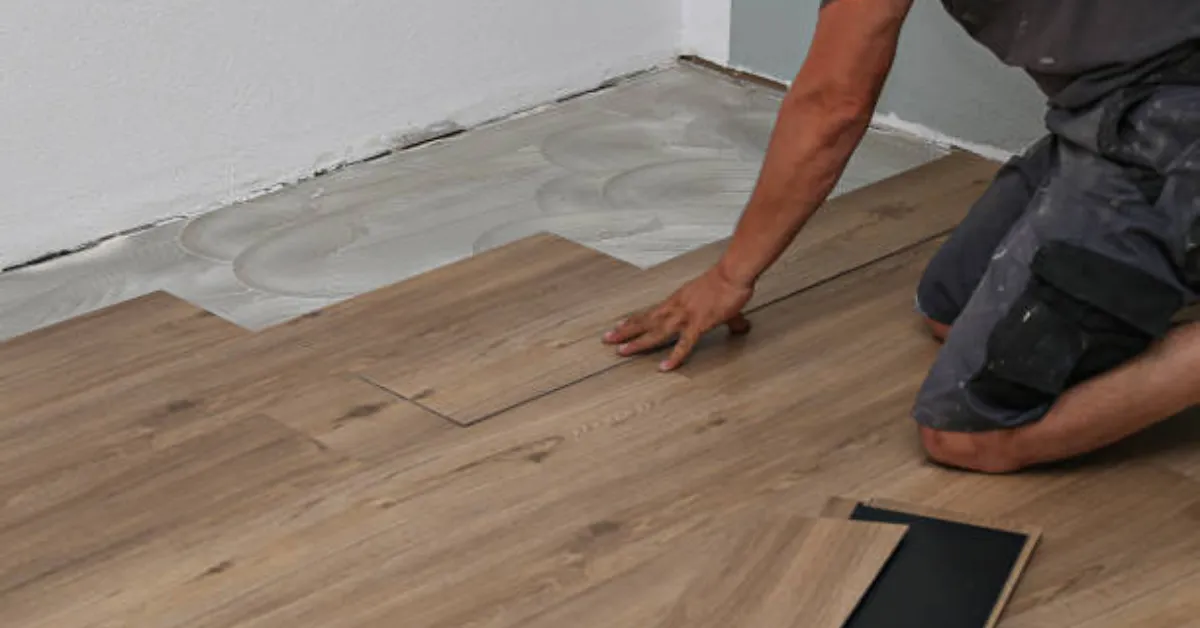
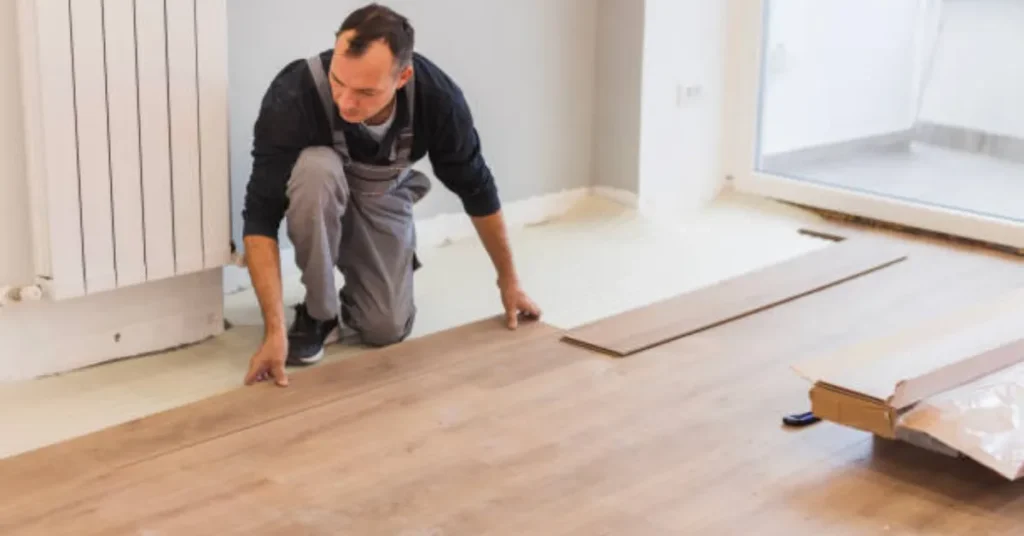
Start laying the vinyl planks from a straight reference line along the wall. Keep a small gap between the wall and planks for natural expansion, using spacers to keep it even. Connect each plank by locking it into place according to manufacturer instructions. Push down on each plank to secure it to the subfloor. Avoid forcing planks as it may damage edges. For bathrooms or damp areas, ensure the first row is properly sealed. Properly learning how to install vinyl plank flooring ensures a neat and lasting finish.
Cutting Vinyl Planks for Edges and Corners
Cutting vinyl planks for edges or corners is simple with a utility knife. Measure the required length carefully to avoid mistakes. Measure, score, and snap the plank to create a clean edge. Keep scrap pieces to test fit other areas before final installation. Using a straightedge helps achieve precise cuts every time. When installing around obstacles like vents or cabinets, measure twice to ensure proper fit. Smooth out any rough edges to prevent uneven joints. Cutting accurately is a vital step when you install vinyl plank flooring yourself.
Finishing Touches
After laying the main floor area, focus on finishing touches and details. Remove all spacers, then install baseboards to cover the expansion space. Inspect the floor for misaligned planks or minor gaps. Clean the surface thoroughly with a soft broom or vacuum. Avoid using harsh chemicals that could damage vinyl flooring. If desired, you can add floor protectors under furniture legs. This helps prevent scratches and extends floor life. Following the correct steps while you install vinyl plank flooring ensures professional-looking results.
Maintaining Your Vinyl Floor
Maintenance is essential for keeping vinyl flooring beautiful for years. Regular sweeping and occasional damp mopping remove dirt and debris effectively. Avoid excess water, especially in areas where water may accumulate. Installing vinyl plank flooring in a bathroom requires careful moisture management. Use mats near sinks and showers to protect edges. Stay away from harsh cleaners that could harm the floor’s finish. Periodically check for lifting or gaps and address them quickly. Proper care after you install vinyl plank flooring extends the life of your investment.
Final Tips for Successful Installation
Vinyl flooring installation can be completed successfully with patience and proper planning. By understanding how to install luxury vinyl tile flooring, homeowners achieve professional results. Paying attention to installation patterns, layout direction, and moisture areas ensures success. Following manufacturer guidelines and precise cutting techniques prevents future issues. With these steps, any homeowner can enjoy a modern, durable, and easy-to-maintain floor. Whether renovating a kitchen, bathroom, or living area, vinyl planks provide beauty and resilience. Remember, careful preparation is key whenever you install vinyl plank flooring in your home.