Hardwood Floor Installation Tips
Hardwood flooring is a great way to enhance your home’s beauty and increase its overall value. However, a successful installation requires careful planning, precision, and a clear understanding of best practices. Whether you’re a DIY enthusiast or hiring professionals, following proven hardwood floor installation tips will help ensure your flooring looks stunning and lasts for years.
In this guide, you’ll discover practical tips on preparation, tools, techniques, and maintenance—all essential for a smooth and durable hardwood flooring installation.
Why You Should Follow Hardwood Floor Installation Tips
Many homeowners make the mistake of thinking that hardwood floor installation is straightforward. While it’s not impossible to DIY, small errors can lead to big issues like warping, gapping, squeaking, and costly repairs. These hardwood floor installation tips are designed to help you avoid common pitfalls and achieve professional-grade results the first time.
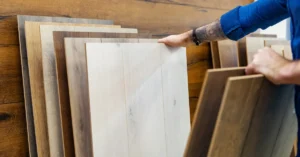
1. Choose the Right Type of Hardwood Flooring
Before anything else, you must choose between solid hardwood and engineered hardwood. Each has pros and cons depending on where you plan to install it.
Solid Hardwood
- Milled from a single piece of wood
- Can be sanded and refinished multiple times
- Ideal for living rooms and bedrooms
Engineered Hardwood
- Made of multiple layers with a hardwood veneer
- More resistant to humidity and temperature changes
- Perfect for basements or areas with moisture
Hardwood Floor Installation Tips for Material Selection:
- Avoid installing solid wood below grade (like basements)
- Choose engineered wood for better moisture resistance
- Match the wood species to your interior design and durability needs
2. Let the Flooring Acclimate Before Installation
One of the most important hardwood floor installation tips is to let the wood acclimate to your home’s environment.
How to Acclimate Hardwood Flooring:
- Leave the boxes open in the installation room for 3–5 days
- Maintain room temperature between 60°F to 80°F
- Keep relative humidity between 30% to 50%
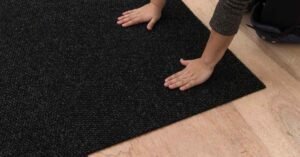
3. Inspect and Prepare the Subfloor
A clean, dry, and level subfloor is the foundation of a successful installation. Failing to inspect or prepare it properly can cause uneven boards and squeaky floors.
Checklist for Subfloor Preparation:
- Remove dust, dirt, and debris
- Use a moisture meter to check subfloor dryness
- Smooth high areas with sanding or fill in any low spots
- Install a vapor barrier on concrete subfloors
Hardwood Floor Installation Tips for Subflooring:
- Use a leveling compound for uneven concrete
- For wood subfloors, ensure all nails are set and there’s no movement
- Address any moisture problems before installation
4. Gather the Right Tools and Supplies
Before beginning the job, gather all necessary tools and materials to avoid interruptions during installation.
Tools You May Need:
- Flooring nailer or stapler
- Moisture meter
- Tape measure and chalk line
- Circular or miter saw
- Rubber mallet
- Wood glue (if using glue-down method)
- Spacers for expansion gaps
5. Plan the Layout Carefully
Don’t rush into laying the first board. Mapping out your layout in advance can help avoid uneven cuts, awkward gaps, and aesthetic problems.
Layout Planning Tips:
- Lay planks parallel to the room’s longest wall
- Center the flooring to avoid thin planks at edges
- Stagger seams by at least 6 inches for structural integrity
Hardwood Floor Installation Tips for Layout:
- Use a chalk line to maintain alignment
- Dry-fit the first few rows before permanently securing them
- Blend planks from multiple boxes to ensure a natural color variation
6. Leave Expansion Gaps Around the Room
Wood expands and contracts with humidity changes. To accommodate this movement, leave a small expansion gap between the flooring and the walls.
Standard Gap Size:
- 1/4″ to 1/2″ around all walls and fixed objects
You can later cover these gaps with baseboards or quarter-round moldings.
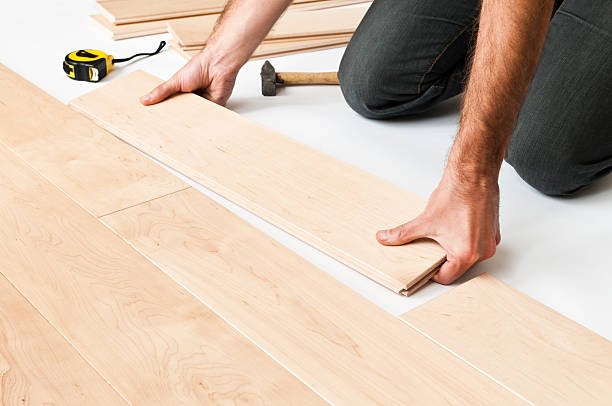
7. Select the Right Installation Method
Hardwood flooring can be installed using three primary methods: nailing, gluing, or floating the planks in place.
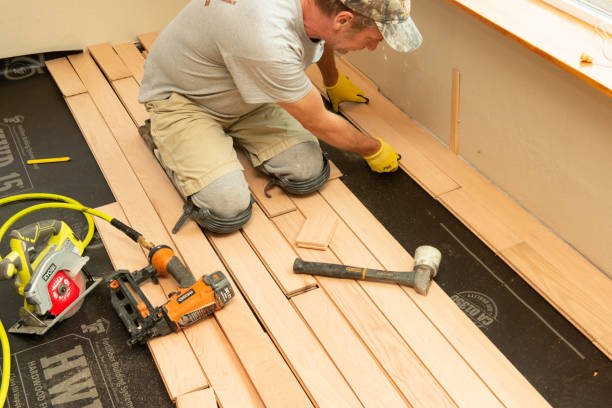
Nail-Down:
- Suitable for solid hardwood over wood subfloors
- Requires a flooring nailer or stapler
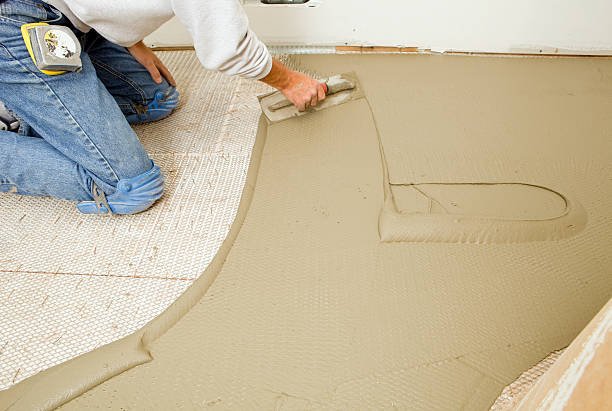
Glue-Down:
- Ideal for engineered hardwood over concrete
- Use high-quality adhesive to prevent gaps
Floating:
- Click-lock systems that “float” above the subfloor
- Best for DIY projects and quick installations
Hardwood Floor Installation Tips by Method:
- Make sure the glue you use is suitable for the type of flooring being installed.
- For nail-down, use the correct nail size and spacing
- Always read the manufacturer’s recommendations
8. Mix Planks for a Natural Look
Every hardwood plank features unique grain, color, and texture characteristics.
Steps:
- Open 3–5 boxes at a time
- Shuffle and lay them out before installing
- Avoid placing similar patterns or shades side by side
9. Clean the Work Area Frequently
A clean installation space helps prevent dirt from getting trapped under planks, which can cause lumps or noise.
Pro Tips:
- Sweep or vacuum between each stage
- Keep tools organized to avoid accidents
- Wipe adhesive spills immediately
10. Finishing Touches and Post-Installation Care
Once the flooring is installed, take the necessary steps to protect it.
Post-Installation Tips:
- Avoid walking on glue-down floors for 24–48 hours
- Install transition strips between rooms
- Clean with a wood-safe cleaner only
Hardwood Floor Maintenance Tips After Installation
Maintaining your floor properly ensures it lasts for decades.
Long-Term Care Suggestions:
- Use rugs and doormats to reduce dirt
- Add felt pads under furniture legs
- Refinish your floor every 7–10 years as needed
Common Mistakes to Avoid
Avoiding rookie mistakes can save you money and hassle.
- Skipping acclimation
- Ignoring subfloor moisture issues
- Forgetting expansion gaps
- Failing to read product instructions
- Using the wrong tools or adhesives
Each of these errors can be prevented by following the hardwood floor installation tips outlined in this article.
FAQs About Hardwood Floor Installation
Q1. Can I install hardwood flooring myself?
Yes, but it requires careful planning and the right tools. DIY is feasible for floating or click-lock systems.
Q2. How long should hardwood flooring acclimate?
At least 3–5 days, depending on your region’s climate and flooring type.
Q3. Should I glue or nail hardwood floors?
That depends on your subfloor and flooring type. Nail-down is common for solid wood; glue-down works well for engineered wood on concrete.
Q4. What’s the most important step in hardwood floor installation?
Preparation—ensuring the subfloor is clean, dry, and level—is the foundation of a successful installation.
Final Thought
By following these hardwood floor installation tips, you can ensure your flooring project runs smoothly, looks beautiful, and stands the test of time. Whether you’re tackling the job yourself or hiring professionals, good planning, proper tools, and careful technique make all the difference.
Invest in quality materials, prepare thoroughly, and you’ll enjoy the timeless appeal of hardwood floors for decades to come.